How to Create a Compliant Passport Size Photo Using Automated Software
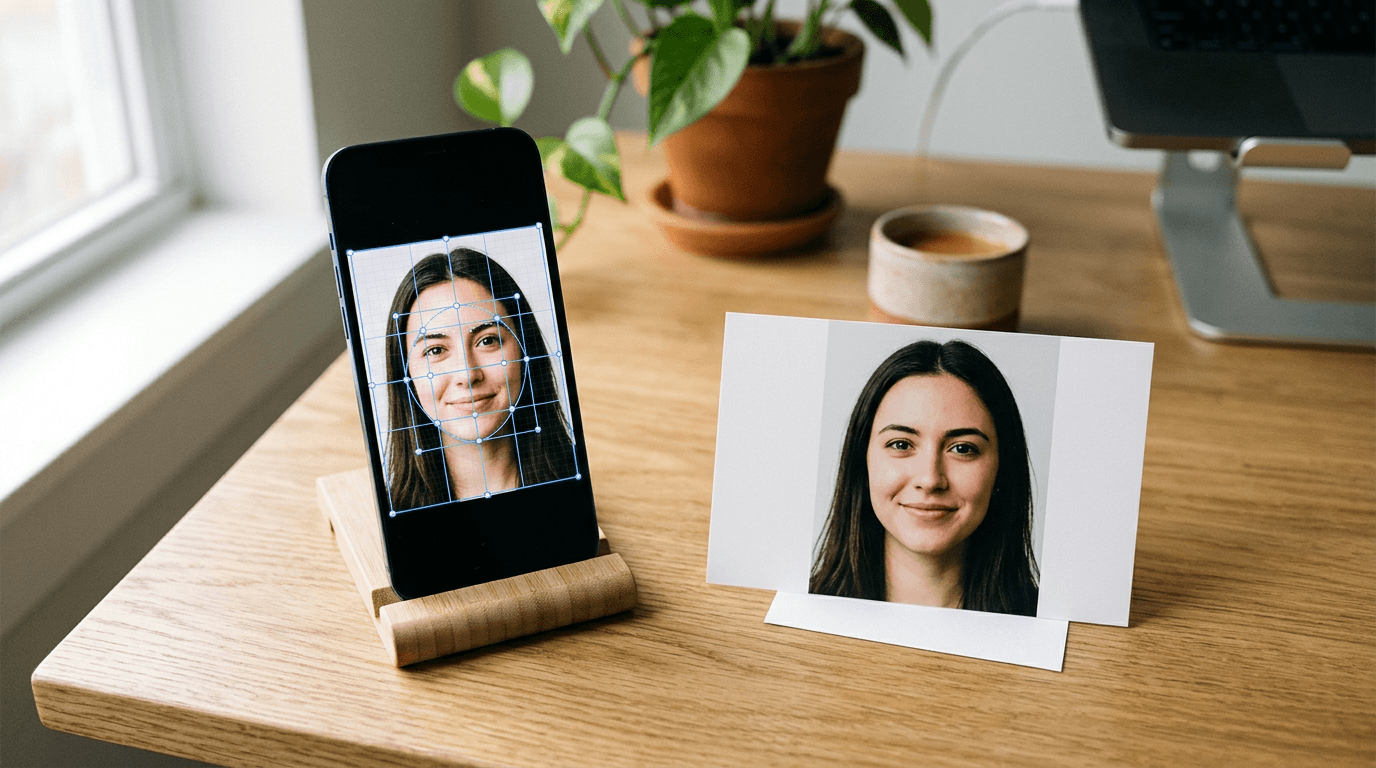
You are standing in a bright retail pharmacy aisle, holding a squirming three-month-old infant while a clerk with a basic point-and-shoot camera tries to time the flash between tears. Capturing a compliant passport size photo under these conditions usually ends in a rejected application, wasting both time and application fees. The physical mechanics of holding a young child upright against a white backdrop introduce visible hands, harsh drop shadows, and incorrect eye levels - all of which trigger immediate failure when scanned by government biometric systems. By bypassing the studio and using a smartphone combined with specialized formatting software at home, you regain control over the environment. This approach allows you to secure the raw image safely on your own timeline, leaving the stringent background removal and exact facial proportioning to automated tools built strictly for biometric compliance.
Quick Summary
Generating an official biometric image requires capturing a distortion-free raw photograph and processing it through software designed to enforce strict government measurement rules.
- Optical distortion is the primary failure mode: Wide-angle smartphone lenses warp facial features if held too close.
- Backgrounds must be completely uniform: Shadows cast behind the ears or neck will trigger automated rejection.
- Proportions trump overall dimensions: The distance from the chin to the crown of the head matters more than the paper size.
- Software bridges the gap: Automated processing replaces manual photo editing by removing the background and aligning the face to exact templates.
Table of Contents
- 1. Prepare the Environment and Lighting
- 2. Capture the Raw Image Safely
- 3. Upload to Specialized Biometric Software
- 4. Verify Head Proportions and Cropping
- 5. Generate the Final Printable Sheet
- Common Pitfalls and Troubleshooting
- FAQ
- Recommended Reads
1. Prepare the Environment and Lighting
Why shadow rejection ruins most homemade attempts
Government biometric scanners analyze the topography of the face by measuring the contrast between the subject and the background. When overhead indoor lighting casts a dark shadow under the chin or onto the wall behind the head, the scanning algorithm interprets that shadow as a physical part of the head or an obstruction. This leads to immediate rejection.
To prevent this, you must rely on flat, diffused natural light. Position the subject facing a large window on an overcast day, or during hours when direct, harsh sunlight is not streaming through the glass. The light should strike the face evenly, wrapping around the cheeks and illuminating both eyes equally. If one side of the face is significantly darker than the other, the image will fail the contrast threshold required for identity verification. Turn off all artificial overhead room lights; mixing the color temperatures of a warm incandescent bulb and cool daylight creates a color cast on the skin that automated systems flag as unnatural manipulation.
For readers working through the international baby photo requirements, securing flat lighting is the single variable software cannot fully repair. If the original exposure leaves the eyes obscured in shadow, pulling up the brightness digitally will introduce noise and pixelation, degrading the file quality below the accepted standard.
2. Capture the Raw Image Safely

Positioning an infant without triggering rejection
Capturing an infant requires a completely different mechanical approach than photographing an adult. Newborns lack the neck strength to sit upright, and any visible hands, arms, or mechanical supports used to prop them up will invalidate the image.
The most reliable method is the floor technique. Lay a smooth, wrinkle-free white sheet or blanket on the floor in the pool of natural window light you established. Place the infant on their back, allowing gravity to stabilize their head safely. Stand directly over the child, taking care not to block the window light with your own silhouette.
Practical rule: Always step back and use your phone's 2x or 3x optical telephoto lens instead of bringing the wide-angle main camera close to the face.
Smartphones default to wide-angle lenses (typically a 24mm to 28mm equivalent). If you lower a wide-angle lens twelve inches from a face to fill the frame, the lens severely distorts the facial features - enlarging the nose and hiding the ears. This optical distortion alters the biometric map of the face. By backing up to roughly three feet away and switching to the telephoto lens (50mm to 75mm equivalent), you flatten the perspective and record an accurate geometric representation of the subject. Level the phone exactly parallel to the floor; tilting it up or down induces keystoning, artificially elongating the chin or forehead, which routinely violates Australian passport biometric rules and other strict international standards.
3. Upload to Specialized Biometric Software
How automated background removal replaces manual editing
Once you have a raw, evenly lit file, the background must be standardized to pure white, light grey, or cream, depending entirely on the destination country's mandate. Doing this manually with graphic design software is prone to error. Selecting and cutting out wispy baby hair with a digital lasso tool often leaves jagged edges or halo effects, which digital application portals easily detect as prohibited image manipulation.
This is where specialized processing software takes over. High-grade biometric AI tools evaluate the uploaded image, isolate the subject using advanced edge detection, and dynamically replace the background with the mathematically precise hex code required by the target government. While utilizing a passport photo online free converter might delete the background quickly, many of these generic tools lack the biometric validation layers needed to confirm the newly extracted image actually meets official contrast and edge-sharpness rules. If the edge detection is sloppy and cuts off the contour of a cheek or the top of an ear, the photo is useless. Using a system backed by a refund policy for rejected images ensures that the algorithmic processing aligns strictly with legal mandates.
4. Verify Head Proportions and Cropping
Meeting the exact measurement mandates
The overall dimensions of the final print are secondary to the internal proportions of the subject's face. When an official agency dictates a passport image size, they are primarily concerned with how much vertical space the head occupies within that frame.
For example, a standard uk passport photo must physically measure 35 millimeters wide by 45 millimeters high. However, the critical metric is that the head - measured from the bottom of the chin to the crown (the top of the skull, ignoring hair) - must occupy exactly 29 to 34 millimeters of that vertical height. If the head is scaled to 36 millimeters, it is too close; if it is scaled to 27 millimeters, it is too far away. The face must also be perfectly centered, with a specific margin of empty space left above the head.
These constraints differ wildly across borders. The Germany baby passport photo guidelines dictate the exact same 35x45 millimeter external dimensions as the UK, but require a head height of 32 to 36 millimeters for young children. Conversely, the United States infant photo dimensions require a square 2x2 inch (51x51 millimeter) print, with the head measuring between 1 and 1.375 inches. Attempting to crop and scale these dimensions manually by dragging a bounding box over a digital file is a guessing game. Biometric formatting software uses facial landmark recognition to automatically scale the chin-to-crown distance, centering the subject mathematically before locking the crop.
5. Generate the Final Printable Sheet
Preparing the layout for a local print kiosk
When a physical paper application is required, you cannot send a single 35x45 millimeter digital file to a standard commercial printer. Commercial photo printers are designed for standard paper formats, most commonly 4x6 inches (10x15 centimeters). Attempting to print an isolated tiny square results in aggressive upscaling by the kiosk's default software, stretching the face and destroying the passport picture size you just carefully calibrated.
Instead, the digital file must be configured into a print template. Formatting software takes the correctly proportioned, background-cleared biometric image and tiles it onto a standard 4x6 inch digital canvas. This creates a single image file containing four to six identical passport photos surrounded by clear cutting guidelines.
When you transfer this 4x6 file to a local print kiosk, you must ensure the machine is instructed to print exactly at a 1:1 scale without adding borders or auto-correcting colors. The final output must be printed at a minimum of 300 Dots Per Inch (DPI) on high-quality photographic paper. Using a home inkjet printer is strongly discouraged; consumer inkjets frequently produce micro-banding (tiny horizontal lines) across the image, which government scanners read as physical damage or interference, causing an immediate rejection.
Common Pitfalls and Troubleshooting
Failures in biometric image compliance often look similar on the surface - usually resulting in a generic "image not accepted" error from an online portal - but they stem from distinct mechanical errors.
Glare and hotspotting on the face
- The Symptom: Bright white patches on the forehead, cheeks, or tip of the nose, often washing out skin details entirely.
- The Cause: Relying on the smartphone's built-in LED flash or placing the subject under harsh, direct sunlight.
- The Fix: Disable the camera flash entirely. Move the subject slightly away from direct window light into the ambient, diffused light of the room. The skin should look matte, with no blown-out highlights.
Visible drop shadows behind the subject
- The Symptom: A dark rim or silhouette appearing on the background immediately behind the neck, ears, or shoulders.
- The Cause: The subject is placed too closely against a wall while being lit from an angle, or overhead lighting is casting a shadow straight down.
- The Fix: This is the most frequent cause of rejection. If capturing an adult or older child, move them at least two feet away from the back wall to let the shadow fall out of frame. If capturing an infant on the floor, rely entirely on automated background removal software to digitally replace the shadowed fabric with a compliant, uniform digital background.
Facial distortion and asymmetry
- The Symptom: The ears are hidden behind the cheeks, the nose appears disproportionately large, or the shoulders appear excessively narrow.
- The Cause: The camera was held too close to the subject using a wide-angle lens, warping the central perspective.
- The Fix: Delete the image. You cannot fix optical distortion in post-processing. Step back three feet, switch to the optical telephoto lens (2x or 3x zoom), and capture a new image from further away to compress and flatten the facial features geometrically.
Pixelation upon portal upload
- The Symptom: The image looks sharp on the phone, but the government portal rejects it for being "too small" or "low resolution," or the image looks blocky on the confirmation screen.
- The Cause: You cropped the original image too tightly using the phone's native photo app before uploading it to the formatting software, discarding millions of pixels.
- The Fix: Always feed the full, uncropped, original-resolution photograph into the biometric processing software. Let the software execute the crop so it retains the maximum pixel density required to meet the 300 DPI mandate.
FAQ
Can an infant's eyes be closed in the photograph?
It depends strictly on the country. Most international standards, including those of the EU and the United Kingdom, allow newborns and infants under six months of age to have their eyes closed or partially open, acknowledging the difficulty of capturing them awake. However, older toddlers must have their eyes fully open and looking directly at the camera lens.
How do I support a baby's head without my hands showing?
The most reliable method is placing the baby on their back on a flat, firm surface covered with a plain white sheet, allowing gravity to support the neck. If the child must be held, drape a plain white cloth over your torso and hold the child from underneath their clothing, ensuring no part of your hands, fingers, or wrists is visible in the frame.
Does the subject need a completely neutral expression?
Yes. A closed mouth with a neutral, relaxed expression is a universal requirement for biometric facial mapping. Smiling raises the cheeks and narrows the eyes, altering the measurable distances between facial landmarks. While agencies grant slight leniency to infants who cannot control their expressions, visible teeth, crying, or wide-open mouths will result in rejection.
Why is the background color so strictly enforced?
Biometric scanners rely on sharp edge contrast to isolate the head from the background and take measurements. If the background is too dark, patterned, or heavily shadowed, the software cannot definitively locate the edge of the hair or the curve of the jaw. This is why precise background replacement is critical.