How to Get Your Passport Photo Requirements Right
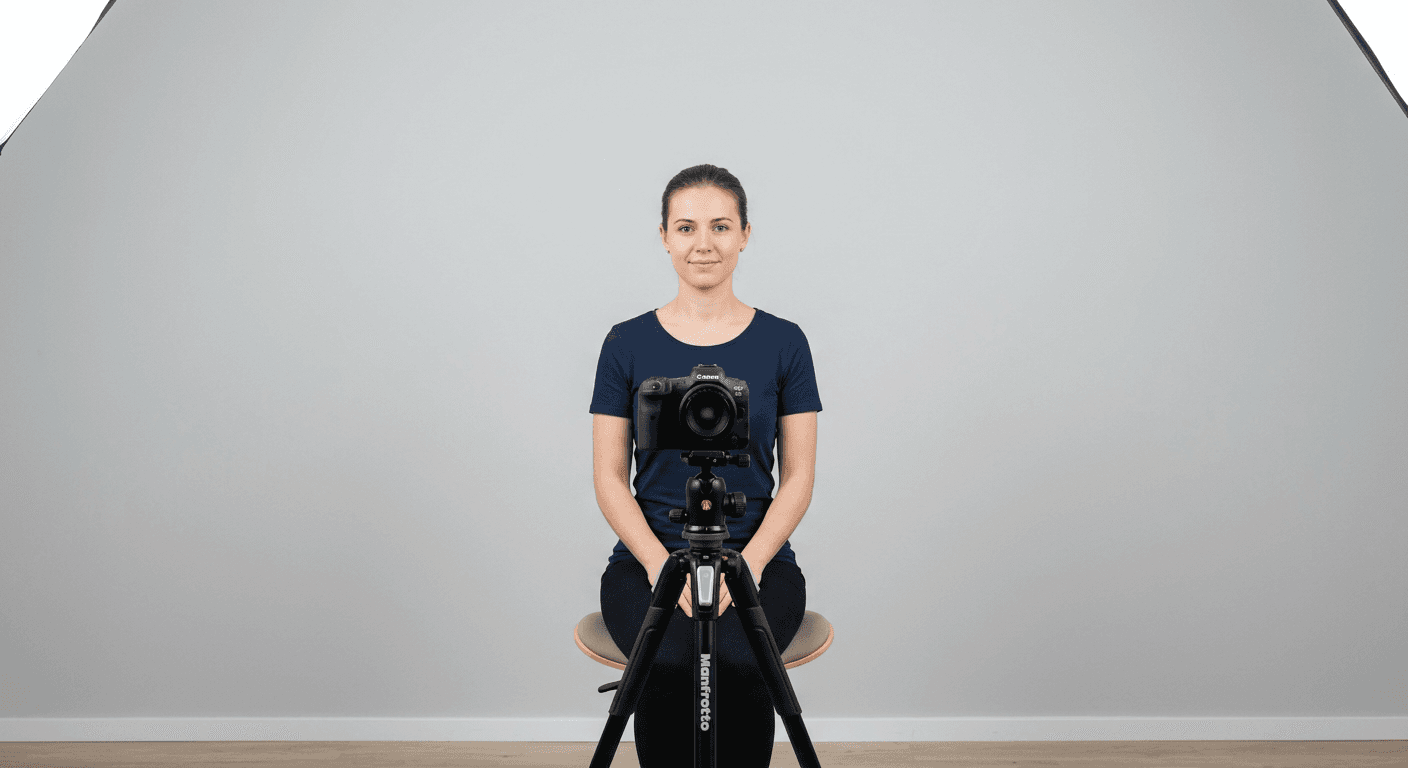
Navigating the strict standards for official identification documents can be daunting, but mastering the passport photo requirements is a manageable task if you follow professional guidelines. Whether you are renewing your travel document or applying for the first time, ensuring your image meets the necessary specifications is the most effective way to prevent application delays or outright rejections by government agencies.
Quick Summary
Passport photo requirements are the standardized rules governing the dimensions, composition, lighting, and appearance of images submitted for travel documents. Adhering to these specifications is mandatory to ensure biometric facial recognition systems can process your identity correctly, preventing travel disruptions.
- Uniformity in lighting and background color.
- Specific facial expressions and positioning.
- Strict adherence to designated passport image size.
- High-resolution digital or physical printing standards.
Table of Contents
- Understanding Passport Photo Requirements
- Formatting Your Passport Image Size
- Lighting and Composition Essentials
- Common Pitfalls and Troubleshooting
- Frequently Asked Questions
- Recommended Reads

Understanding Passport Photo Requirements
Every sovereign nation enforces a set of rules regarding how citizens must present themselves for travel documents. For instance, uk passport photo requirements dictate that the subject must look directly at the camera with a neutral expression, mouth closed, and eyes clearly visible. The background must be plain cream or light grey, ensuring there are no shadows cast on the subject or the wall behind them.
Beyond basic appearance, the technical specifications are non-negotiable. Governments utilize automated scanning systems that measure the distance between pupils, the width of the face, and the clearance between the top of the head and the photo edge. If your submission fails to meet these rigid geometry rules, the system will flag the image as non-compliant, leading to an administrative back-and-forth that can stall your travel plans by weeks.
Formatting Your Passport Image Size
Your passport image size is one of the most critical aspects of the application process. While standard photograph sizes exist, official documents require specific dimensions that vary depending on the issuing country. It is never sufficient to simply use a standard 4x6 print; you must ensure the crop is precise and the resolution is high enough to avoid pixelation during the digitization process.
When dealing with passport picture size, remember that the physical dimensions and the digital pixel dimensions are distinct but equally important. Most authorities require a square or near-square crop where the head occupies a significant percentage of the vertical space - usually between 70% and 80%. If you are preparing your own photos, you can consult a comprehensive guide to ensure you are meeting the exact ratio required for your specific jurisdiction.
Pro Tip: Do not rely on your camera's default settings. Use an image editing tool to overlay a standard passport grid to ensure your eye-line and chin placement are perfectly aligned before you finalize the export or print.
Lighting and Composition Essentials
Achieving the perfect passport format photo requires meticulous attention to the environment. Natural, flat lighting is the industry standard. Avoid direct flash, which creates harsh, unwanted highlights on the skin and deep, dark shadows behind the ears or neck. These shadows are frequently cited as a primary reason for manual rejection during the quality assurance check.
Proper composition involves keeping your head centered and straight. Tilting your head even slightly can distort the facial mapping used by biometric software. Additionally, ensure your attire contrasts sufficiently with the background without being overly distracting. For those seeking specific guidance for family members, reviewing the uk passport photo requirements can provide a deeper understanding of how these lighting rules translate across different age groups.
Common Pitfalls and Troubleshooting
One of the most common issues applicants face is the presence of reflections, particularly for those who wear prescription glasses. If your glasses create a glare on the lenses that obscures your eyes, your photo will almost certainly be rejected. In such cases, it is safer to remove your glasses entirely, provided your national guidelines allow it. Always double-check your local government’s rules to see if an exception is granted for medical reasons.
Another frequent mistake involves the image quality. Submitting a blurry, grainy, or overly compressed digital file often leads to automatic rejection. Ensure your file is saved in a standard format, such as JPEG, and that the DPI (dots per inch) is set to at least 300 to maintain sharpness. If you find your photos consistently failing the validation checks, consider seeking professional assistance to calibrate your capture setup properly.
Frequently Asked Questions
Can I wear headgear in my passport photo? Generally, no. Exceptions are only made for religious or medical reasons, and even then, your face must be completely visible from the bottom of your chin to the top of your forehead.
What is the best way to ensure my passport image size is correct? Use digital editing software to crop the image to the exact pixel dimensions specified by your government, ensuring the head-to-frame ratio is accurate.
Do I need a new photo if my appearance has changed significantly? Yes. Passport photos must be a true likeness of how you look at the time of application. A photo taken more than six months ago is usually considered invalid.
Why was my photo rejected for shadows? Shadows are rejected because they obscure facial contours, which the government's biometric software requires to confirm your identity. Always use diffused, even lighting on both sides of the face.