How to Measure and Verify Passport Size Photo Dimensions in 2026
Most applicants assume that as long as the outer edges of a print measure exactly to the required specification, the photograph will pass inspection. In reality, modern biometric scanners process physical prints by mapping internal facial markers long before a human agent ever measures the border. Getting the passport size photo dimensions correct means hitting four distinct metrics simultaneously: the outer width, the outer height, the precise chin-to-crown measurement, and the exact distance from the top of the head to the upper edge of the frame. Submitting an image that fails even one of these internal geometry tests guarantees an automatic rejection, delaying critical travel documents by weeks and forcing families to start the application process over.
Quick Summary
Securing the correct passport specifications requires aligning the physical print boundaries, digital pixel counts, and strict internal biometric proportions. Different jurisdictions enforce completely incompatible standards, meaning a perfectly framed square photograph will fail European processing requirements instantly.
- Outer boundaries dictate the physical paper cut, while internal metrics define biometric compliance.
- European and Schengen standards strictly require a 35x45 mm portrait format, whereas US systems demand a 51x51 mm square.
- Digital uploads mandate specific pixel dimensions and compression limits that are completely distinct from physical print rules.
- Measuring chin-to-crown proportions accurately is where the vast majority of digital and physical rejections occur.
Table of Contents
- 1. Verify the Exact Outer Passport Size Photo Dimensions
- 2. Map the Internal Biometric Photo Size
- 3. Define the Digital Passport Image Size and Resolution
- 4. Scale the Passport Picture Size for Local Printing
- 5. Format the File for Digital Submission
- Common Pitfalls & Troubleshooting
- FAQ
- Recommended Reads
1. Verify the Exact Outer Passport Size Photo Dimensions
The absolute first requirement is matching the external border of the image to the destination country's intake hardware. Global immigration systems generally fall into two categories: the European portrait standard and the American square standard.
The portrait format dictates that the passport size photo dimensions must measure exactly 35 millimeters in width and 45 millimeters in height. This is the unbending rule for the United Kingdom, Australia, New Zealand, and the entire Schengen area. You can find the specifics of this intake format documented in the Germany Baby Passport Photo Guide. By contrast, the square format requires dimensions of 51x51 millimeters, which translates exactly to 2x2 inches. This standard is utilized primarily by the United States, India, and Saudi Arabia.
These dimensions exist because the physical scanning machines at passport processing centers have fixed entry slots. If an image is too large, the machine will reject it; if it is too small, the scanner cannot grip the paper to pull it over the optical sensor.
The mistake people consistently make here is attempting manual conversion. Applicants will take a perfectly valid 2x2 inch square photograph and use household scissors to trim the edges down to 35x45 mm. This fails immediately. Trimming the external borders alters the internal centering of the face, pushing the subject too close to the edge of the new frame and guaranteeing a biometric failure during processing. You must shoot and crop for the specific outer dimension from the very beginning.
2. Map the Internal Biometric Photo Size
Outer dimensions only get the paper into the machine; the internal biometric photo size is what actually determines approval. Immigration software analyzes the photograph by locating the eyes, the bottom of the chin, and the top of the head (excluding hair volume).
Every jurisdiction mandates that the face must occupy a specific percentage of the total vertical space. For a standard 35x45 mm passport size photo, the subject's head, measured strictly from the lowest point of the chin to the crown of the head, must measure between 32 and 36 millimeters. For the 51x51 mm standard, the head must sit between 25 and 35 millimeters. The software also checks the space above the head. There must be a visible gap between the top of the subject's hair and the upper edge of the photograph, usually standardized at 3 to 5 millimeters. The exact structural tolerances for British applications are explained further in the United Kingdom Baby Passport Photo Guide.
Practical rule: To ensure compliance across automated facial recognition scanners, position the horizontal line of the eyes exactly in the middle of the photograph's vertical height, leaving at least 3 millimeters of empty background above the highest point of the hair.
The fatal mistake made during this step is the "fill the frame" approach. Parents holding an infant will naturally try to zoom in close to the baby's face, pushing the top of the head completely out of bounds. When the camera lens is too close, it also creates barrel distortion. This optical illusion inflates the size of the nose and shrinks the ears, causing the biometric algorithm to record inaccurate facial geometry that will not match the child as they grow.
3. Define the Digital Passport Image Size and Resolution
When a government portal asks for a digital upload, the physical millimeter measurements must be translated into digital pixels. The bridge between these two worlds is the DPI (Dots Per Inch) or PPI (Pixels Per Inch) metric.
The global standard floor for official documentation is 300 DPI. If you are generating a 51x51 mm digital file, you must submit a passport image size of exactly 600x600 pixels to meet that 300 DPI threshold. You can see how this pixel density impacts final approval in the United States Baby Passport Photo Guide. If the requirement is 35x45 mm, the corresponding digital resolution at 300 DPI is 413x531 pixels.
Digital resolution matters because compression artifacts destroy the micro-contrast needed to identify eye color and facial contours. An image that looks sharp on a smartphone screen might only possess a resolution of 72 DPI, which will print as an unrecognizable, heavily pixelated blur.
The most common error causing resolution failure is the transfer method. Applicants frequently shoot a high-resolution photo on a smartphone and then send it to their computer via a messaging app or social media platform. These platforms automatically compress media files to save server bandwidth. A pristine 300 DPI image sent through a standard chat application will arrive at its destination stripped of its resolution, leading to an immediate automated rejection upon upload.
4. Scale the Passport Picture Size for Local Printing
If you are submitting a physical application, you must print the digital file onto photographic paper. Because consumer print kiosks at pharmacies and supermarkets do not stock 35x45 mm or 51x51 mm paper rolls, you must generate a standard 4x6 inch (10x15 cm) digital canvas and place your correctly sized images onto it.
By laying out a 4x6 inch canvas at 300 DPI, you can neatly fit between two and six copies of the necessary passport picture size on a single sheet of paper. Once printed, you simply cut along the generated guide marks. This layout technique is standard practice and fully acceptable to processing authorities, as noted in the Australia Baby Passport Photo Guide.
The catastrophic mistake at this stage happens entirely within the print kiosk's software. By default, consumer photo printers have "borderless printing" or "fit to page" enabled. This setting slightly stretches the image by 2% to 4% so that the ink bleeds completely over the edge of the paper. That tiny stretch will inflate a precisely measured 35 mm width to 36.4 mm, and a 34 mm head size to over 35 mm. This silent distortion ruins the biometric geometry. You must always uncheck "fit to page" and manually select "print original size" before confirming the print job.
5. Format the File for Digital Submission
For online renewals and e-visa portals, the file format and metadata are just as rigidly regulated as the visual content. Every official portal utilizes automated intake software that instantly drops files that do not meet backend technical criteria.
First, the biometric photo size in terms of data weight must fall within a strict range. Most systems require the file to be larger than 50 KB to ensure sufficient data density, but smaller than 10 MB to prevent server overload. Second, the file must be encoded in the sRGB color space. Images saved in CMYK (a format used for commercial magazine printing) will display inverted or neon colors when parsed by government web browsers.
The mistake that blocks thousands of applications is improper file conversion. Government systems mandate the JPEG or JPG file format. If an applicant has a PNG image, they often try to simply rename the file extension from ".png" to ".jpg" in their operating system. This does not change the actual encoding of the file; it merely creates a corrupted PNG masquerading as a JPEG. The government portal's intake script will immediately flag the file as unreadable. Always use dedicated image software to natively export the final file as a JPEG.
Common Pitfalls & Troubleshooting
When a photo is rejected, the government portal rarely explains exactly why. You must diagnose the failure based on the generic error codes returned by the system. If you are struggling to interpret a rejection, cross-reference the error with the EU & International Baby Passport Photo Requirements & Guides.
The "Background Not Uniform" Flag
- Symptom: The portal rejects the image for background interference, even when standing in front of a completely blank white wall.
- Fix: Move the subject further away from the wall. This error is almost always caused by shadow bias. If the subject stands flush against the wall, their body casts a harsh drop shadow behind their neck or shoulders. The biometric scanner reads this shadow as a physical object or gradient. Pull the subject at least 50 centimeters away from the background to allow the shadow to fall out of the camera's frame.
The "Face Not Detected" Error
- Symptom: You upload a clear photograph, but the automated system claims there is no face present.
- Fix: Check your lighting setup, not your camera lens. Scanners identify faces by mapping the contrast between the eyes, nose, and cheeks. If the lighting is entirely one-sided (e.g., standing next to a single bright window), half of the face is washed out while the other half is lost in darkness. Turn the subject so they are facing the light source directly, ensuring even, flat illumination across both cheeks.
The "Foreign Object Detected" Failure (Infant Specific)
- Symptom: A baby's photograph is rejected for objects in the frame, despite wearing no accessories.
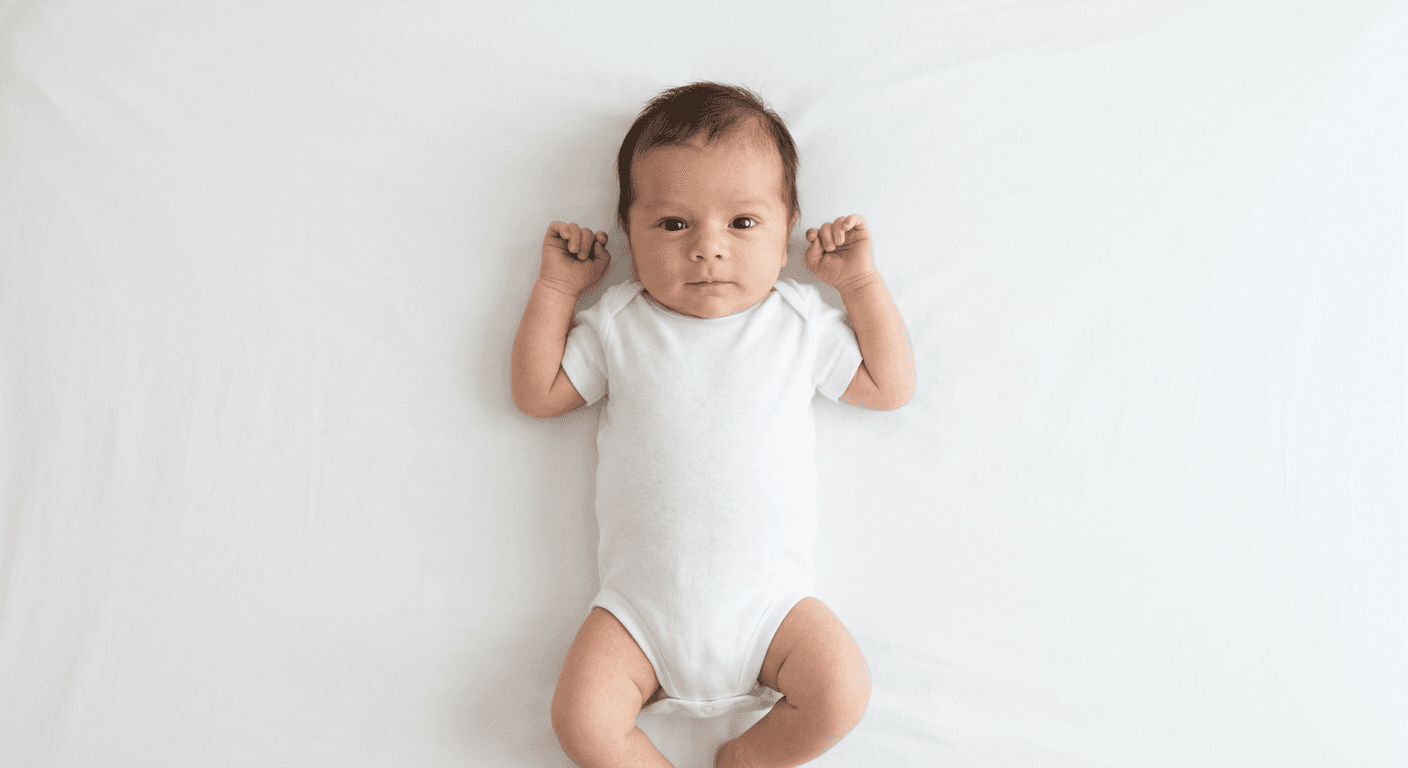
- Fix: Remove parental hands from the shot. When holding an infant upright, parents often support the back of the neck, leaving their knuckles visible behind the baby's ears. The scanner registers the knuckles as a foreign object. Lay the infant on their back on a plain white sheet and shoot from directly above instead. If you need step-by-step assistance with this specific setup, consult the Help Center.
The "Asymmetrical Alignment" Rejection
- Symptom: The system claims the head is tilted, even though the subject is looking straight ahead.
- Fix: Lower the camera to exact eye level. If you photograph a seated child from a standing position, you capture them from a downward angle. This optical tilt throws off the horizontal axis of the eyes, causing the software to assume the head is leaning backward. The camera lens must be perfectly parallel to the subject's nose.
FAQ
Can I use the same passport format photo for every country's application? No. Different countries use contradictory dimensional standards. Submitting a 51x51 mm US photo to a European portal will result in rejection, just as submitting a 35x45 mm EU photo to a US portal will fail. The internal head proportion requirements also differ significantly between these regions.
Does a digital biometric photo size differ from the physical print dimensions? Yes. Physical prints are measured in millimeters and rely on paper constraints. Digital submissions are measured in pixels (e.g., 600x600 pixels) and data weight (e.g., under 240 KB). You must format two entirely separate files if an agency asks for both physical and digital copies.
How do I verify my passport image size is exactly 300 DPI? You must check the file properties on a desktop computer. Right-click the image file, select "Properties" (on Windows) or "Get Info" (on macOS), and navigate to the details tab. The horizontal and vertical resolution must read at least 300. You cannot verify DPI reliably on a standard smartphone interface.
What happens if the passport picture size is one millimeter off? It depends on where the error occurs. A one-millimeter error on the outer boundary of a physical print might pass if the human agent cuts it manually. However, a one-millimeter error regarding the internal chin-to-crown measurement will trigger a mandatory rejection from the biometric scanning software.