Passport Size Photo Guide for Travelers
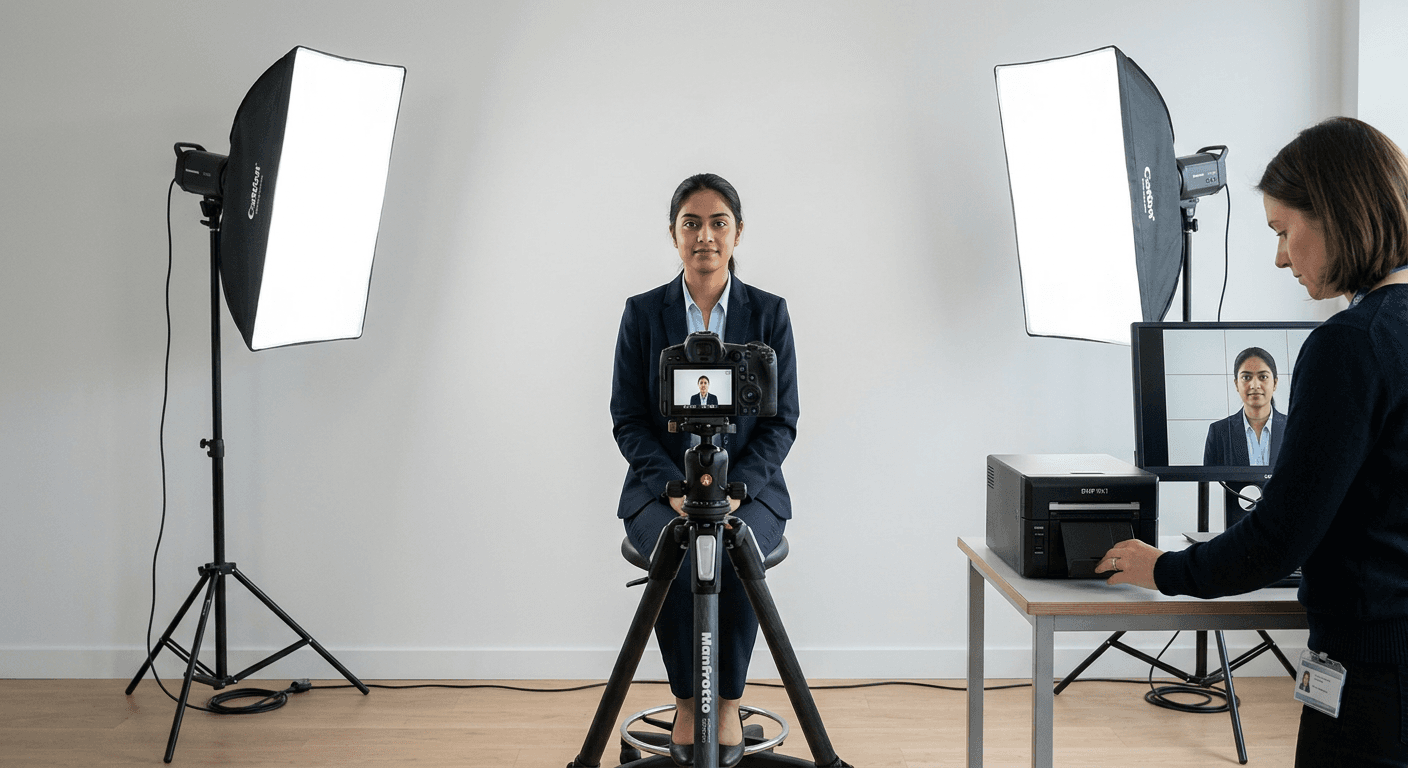
Obtaining a compliant passport size photo is a fundamental step in the international travel application process. Whether you are renewing your own document or require a newborn passport photo for a family trip, adhering to specific biometric standards is non-negotiable. Governments worldwide enforce strict guidelines regarding background color, facial expression, and dimensions to ensure facial recognition software can accurately process your identity. Understanding these technical nuances prevents application delays and costly rejections.
Quick Summary
A passport size photo is a standardized digital or printed image meeting government-mandated requirements for travel documents. To ensure acceptance, photos must typically feature a neutral expression, uniform lighting, and specific dimensions - often 2x2 inches or 35x45 mm - against a plain white or off-white background.
- Maintain a neutral expression with eyes clearly visible.
- Use a plain, light-colored background without shadows.
- Ensure dimensions align with specific country requirements.
- Avoid head coverings or glasses unless for strictly medical or religious reasons.
Table of Contents
- Quick Summary
- Understanding Passport Image Size Standards
- Step-by-Step Guide to Taking a Compliant Photo
- Common Pitfalls and Troubleshooting
- Frequently Asked Questions
- Recommended Reads

Understanding Passport Image Size Standards
The concept of a "passport format photo" is not universal; while many countries follow the International Civil Aviation Organization (ICAO) standards, specific measurements for the passport picture size vary significantly by region. In the United States, the standard is 2x2 inches (51x51 mm), whereas most European and Commonwealth countries, including those following UK passport photo standards, adhere to 35x45 mm dimensions. Failure to adhere to these exact parameters often leads to automatic rejection by automated scanning systems.
Beyond simple dimensions, the composition of the image is vital. The head must be centered, occupying a specific percentage of the frame-typically between 50% and 70% of the total height. If the image is too zoomed in, the biometric software cannot verify key facial landmarks like the chin and hairline; if the image is too zoomed out, the resolution may drop below the required threshold for high-quality printing. You can explore detailed country-specific requirements to ensure your image meets the necessary pixel density.
Step-by-Step Guide to Taking a Compliant Photo
- Prepare the Environment: Find a location with bright, even light. Avoid direct sunlight, which creates harsh shadows on one side of the face. Use a blank, off-white wall as your backdrop. Professional photographers often use a softbox, but you can replicate this by standing facing a large window during daylight hours.
- Positioning and Camera Setup: Place your camera at eye level. If you are taking a newborn passport photo, lay the infant on a plain white sheet on the floor and position yourself directly above them, ensuring no shadows fall on their face from your body.
- Compose the Shot: Ensure your shoulders are square to the camera. Maintain a neutral expression—do not smile or frown. Both ears should be visible, and your eyes must be wide open and looking directly into the lens.
- Review and Crop: Once the photo is captured, use a reliable online passport photo utility to crop the image to the exact passport picture size required for your specific country. Ensure the top of the head and the chin are properly aligned within the designated zones.
- Check for Digital Artifacts: Verify that the file is in a high-resolution JPEG format, usually at least 600dpi, without any compression artifacts or blurring. High-quality digital copies are essential for modern online application portals.
Pro Tip: When photographing children, use a fun toy to capture their attention just above the camera lens to ensure their eyes are focused forward, which is a common challenge with younger subjects.
Common Pitfalls and Troubleshooting
The most frequent reason for rejection is poor lighting, specifically shadows falling across the face or onto the background. Shadows interfere with the software's ability to map facial features, leading to an immediate rejection. Ensure your lighting is balanced by using multiple sources or bounce lighting if working in a low-light indoor environment.
Another major pitfall is the misuse of accessories. Glasses, hats, and head coverings are generally prohibited unless accompanied by a signed doctor's note for medical reasons or a statement for religious attire. Even then, no part of the frame of your glasses can obscure your eyes. Additionally, ensure the background is completely plain; digital editing to "white out" a cluttered background often results in jagged edges around the hair, which authorities frequently flag as fraudulent.
Frequently Asked Questions
How do I ensure my baby's photo is accepted? Focus on maintaining a neutral facial expression and ensuring their eyes are open. If you need specific tips for different countries, consult resources like the Canadian passport photo guide for advice on handling infants.
Can I wear makeup in my passport photo? Yes, but it should be minimal and look like your everyday appearance. Avoid heavy contouring or excessive highlighter, as this can alter the biometric data points of your face.
Do I need a physical photo for an online application? Many modern applications are entirely digital. You will need a high-resolution file that meets the dimension and quality requirements set by the issuing agency.
Why was my photo rejected even though it looked correct? This is often due to subtle issues like incorrect head tilt, uneven lighting, or a background that is not purely monochromatic. Re-check the specific pixel dimensions required by your destination.